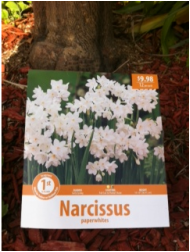
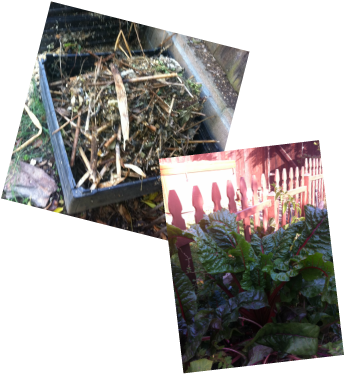
I looked in a bag of Paperwhites that I had bought and noticed that they were growing! Whoops! It is officially time to plant your Paperwhites (if you haven't already). They are always the first bulb to come up and produce fragrant white flowers. Paperwhites are a little reminder that spring is around the corner, and respite from the grays and browns of winter.
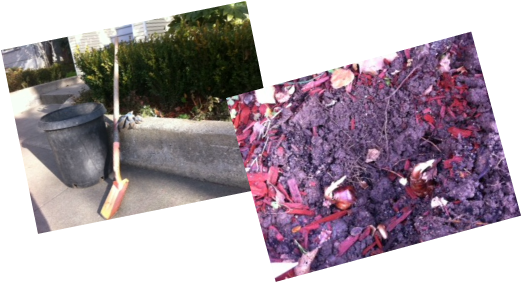
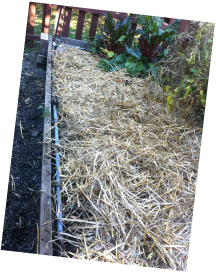
I started by clearing out any remaining dead flowers from fall and those pesky little clovers that grow everywhere. Then I dug a hole that is bigger than you actually need. I try an do this whenever I plant just to loosen up the soil. Place the bulbs tip up about six inches deep and six inches apart. I would recommend planting them in groups of about three so you get some thick green when they come up. Cover the bulbs with dirt. Water a bit the saturate the bulbs. Dust off the gardening gloves and wait for them to make their magic!
I started by clearing out any remaining dead flowers from fall and those pesky little clovers that grow everywhere. Then I dug a hole that is bigger than you actually need. I try an do this whenever I plant just to loosen up the soil. Place the bulbs tip up about six inches deep and six inches apart. I would recommend planting them in groups of about three so you get some thick green when they come up. Cover the bulbs with dirt. Water a bit the saturate the bulbs. Dust off the gardening gloves and wait for them to make their magic!
.


 RSS Feed
